
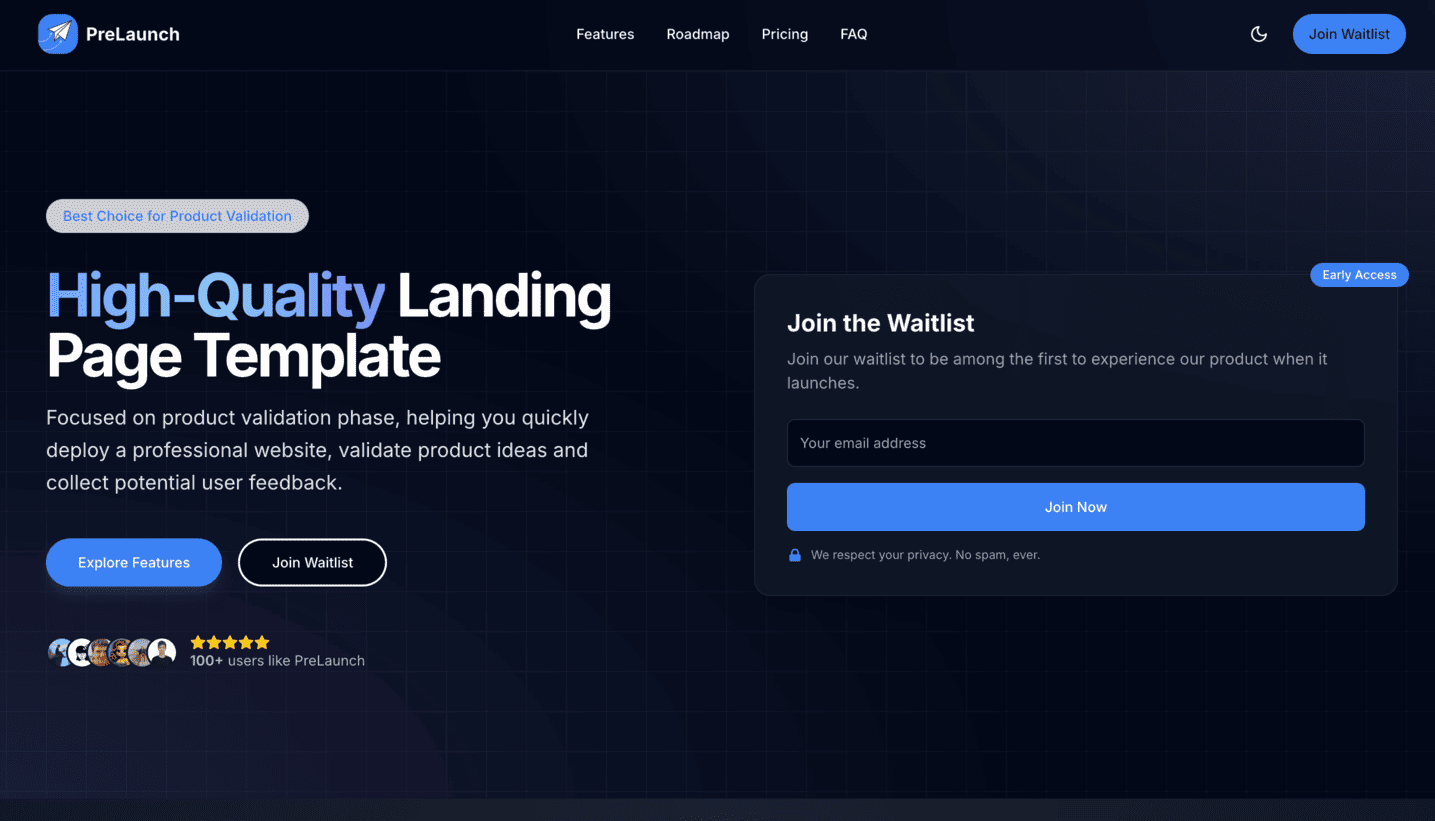
Waitlist Feature Overview

PreLaunch includes a powerful waitlist collection feature that helps you gather email addresses from potential users before your product officially launches, allowing you to build an initial user base. This feature offers:
  • Clean, conversion-optimized form design
  • Email confirmation notifications through Resend
  • Prevention of duplicate submissions
  • Integration with Supabase database
  • Analytics tracking
  • Customizable styles and messaging
Waitlist Example

Implementation Methods

PreLaunch’s waitlist functionality is implemented using the TypeformWaitlist component:
import TypeformWaitlist from '@/components/landing/TypeformWaitlist';

export default function HeroSection() {
  return (
    <div className="hero-section">
      <h1>Your Product Name</h1>
      <p>Short product description</p>
      
      {/* Reference to waitlist section */}
      <Button 
        onClick={() => {
          const waitlistSection = document.getElementById('waitlist');
          if (waitlistSection) {
            waitlistSection.scrollIntoView({ behavior: 'smooth' });
          }
        }}
      >
        Join Waitlist
      </Button>
      
      {/* Waitlist component with ID for scrolling */}
      <div id="waitlist">
        <TypeformWaitlist />
      </div>
    </div>
  );
}

Configuring the Waitlist

Basic Configuration

  1. Ensure the necessary environment variables are set in your .env.local file:
# Supabase configuration
NEXT_PUBLIC_SUPABASE_URL=your-supabase-url-here
NEXT_PUBLIC_SUPABASE_ANON_KEY=your-supabase-anon-key-here

# Email sending (for confirmation emails)
RESEND_API_KEY=your_resend_api_key
RESEND_AUDIENCE_ID=your_resend_audience_id

Customizing the Waitlist Form

You can customize the waitlist form by editing the components/landing/TypeformWaitlist.tsx component:
// Customize the component appearance
<div 
  id="waitlist" 
  className="relative bg-white/80 dark:bg-gray-900/80 backdrop-blur-md rounded-2xl shadow-xl border border-gray-200/80 dark:border-gray-800/80 p-6 md:p-8 transition-all hover:shadow-2xl"
>
  {/* Customize content */}
  <h3 className="text-xl md:text-2xl font-bold mb-2">
    Join the Waitlist
  </h3>
  
  {/* Customize description */}
  <p className="text-gray-600 dark:text-gray-400 mb-6">
    Join our waitlist to be among the first to experience our product when it launches.
  </p>
  
  {/* Form implementation... */}
</div>
You can also customize the waitlist confirmation messages in the form component or in the translation files.

Data Storage

User-submitted email addresses are stored in your Supabase database:

Supabase Schema

The waitlist data is stored in a waitlist table with the following structure:
create table if not exists
  public.waitlist (
    id uuid not null default uuid_generate_v4(),
    email text not null unique,
    locale text not null default 'en',
    source text null,
    created_at timestamp with time zone not null default now(),
    constraint waitlist_pkey primary key (id)
  );

Backend Implementation

The waitlist feature uses a dedicated API endpoint for handling submissions:
// app/api/subscribe/route.ts
export async function POST(req: NextRequest) {
  try {
    const body = await req.json();
    const { email } = body;

    // Check if email already exists
    const emailExists = await isEmailInWaitlist(email);
    if (emailExists) {
      return NextResponse.json(
        { 
          success: true, 
          alreadyExists: true,
          message: "Email already registered in waitlist" 
        }
      );
    }

    // Add to Supabase waitlist
    const result = await addToWaitlist({ 
      email,
      locale,
      source: "website"
    });
    
    // Track signup for analytics
    trackWaitlistSignup(email);
    
    // Send confirmation email
    await sendWaitlistConfirmationEmail({
      email,
      locale
    });
    
    // Return success response
    return NextResponse.json({ 
      success: true,
      message: "Successfully joined the waitlist"
    });
  }
  catch (error) {
    // Handle errors
    return NextResponse.json(
      { success: false, error: "Submission failed" },
      { status: 500 }
    );
  }
}

User Confirmation Emails

PreLaunch sends confirmation emails after users register for the waitlist using Resend:
// libs/resend.ts
export const sendWaitlistConfirmationEmail = async ({
  email,
  locale = 'en',
}: {
  email: string;
  locale?: string;
}) => {
  try {
    // Render React component to HTML
    const html = await renderAsync(
      React.createElement(WaitlistConfirmationEmail, {
        email,
        locale,
      })
    );

    // Send email with verified domain
    const { data, error } = await resend.emails.send({
      from: config.resend.fromNoReply,
      to: email,
      subject: `Welcome to PreLaunch Waitlist!`,
      html,
      replyTo: config.resend.fromAdmin,
    });

    return { success: true, data };
  } catch (error) {
    console.error("Failed to send waitlist confirmation email:", error);
    return { error: true, message: "Failed to send email" };
  }
};
The default email template is located in components/emails/WaitlistConfirmationEmail.tsx and can be customized as needed.

Frequently Asked Questions

You can export user data through the Supabase Console, or use the getWaitlistUsers function provided in libs/supabase/waitlist.ts to create an admin API for data retrieval.
You can customize the styling by editing the TypeformWaitlist.tsx component, or by using Tailwind CSS classes to adjust the appearance.
Yes, you can customize the TypeformWaitlist component to include additional fields. You would also need to update the Supabase table schema and the API endpoint to handle the additional fields.

Example Code

Here’s a complete example of a waitlist landing page:
// app/page.tsx
import Hero from '@/components/landing/Hero';
import Features from '@/components/landing/Features';
import FAQ from '@/components/landing/FAQ';
import TypeformWaitlist from '@/components/landing/TypeformWaitlist';

export default function Home() {
  return (
    <main>
      <Hero />
      <Features />
      <FAQ />
      
      {/* You can also add the waitlist form in a dedicated section */}
      <section className="container mx-auto py-24">
        <div className="max-w-md mx-auto">
          <TypeformWaitlist />
        </div>
      </section>
    </main>
  );
}
I