Blog System Overview

PreLaunch includes a comprehensive blog system that helps you create content marketing strategies, improve SEO, and demonstrate thought leadership. The system is built with Next.js App Router and uses Markdown for content authoring, making it easy to create and maintain blog posts.
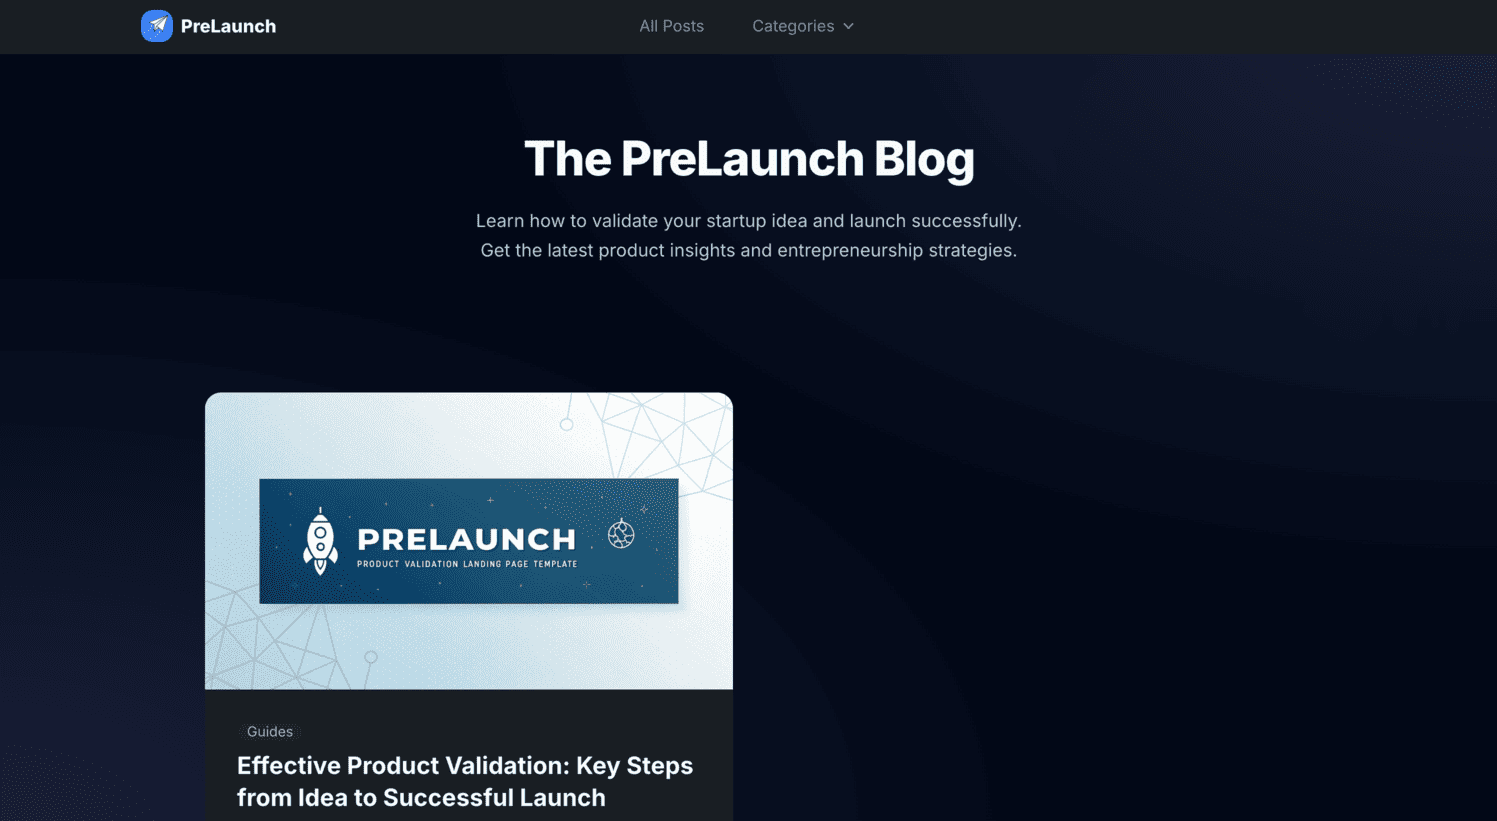
Key Features

  • Markdown-based Content: Write posts in Markdown for easy formatting
  • Category System: Organize posts by categories
  • Author Profiles: Display author information with each post
  • SEO Optimization: Built-in metadata and structured data for better search rankings
  • Responsive Design: Blog looks great on all devices
  • Code Syntax Highlighting: Display code snippets with proper highlighting
  • Related Posts: Show related articles to keep readers engaged
  • Customizable Styling: Easily modify the look and feel of your blog

Implementation

The blog system is already integrated into PreLaunch and can be accessed at the /blog route. The system includes:

  • Blog home page with featured and recent posts
  • Individual article pages
  • Category and author archive pages
  • SEO-friendly URLs and metadata

Blog Structure

The blog system is structured as follows:

app/blog/
├── page.tsx                     # Blog home page
├── [articleId]/                 # Individual article pages
│   └── page.tsx
├── author/                      # Author archive pages
│   └── [authorId]/
│       └── page.tsx
├── category/                    # Category archive pages
│   └── [categoryId]/
│       └── page.tsx
└── _assets/                     # Blog assets
    ├── articles/                # Markdown article content
    │   ├── article-slug-1.md
    │   └── article-slug-2.md
    ├── components/              # Blog-specific components
    │   ├── Avatar.tsx
    │   ├── BadgeCategory.tsx
    │   └── CardArticle.tsx
    ├── content.tsx              # Blog metadata and structure
    ├── images/                  # Author images and other assets
    │   └── authors/
    │       └── maple.png
    └── mdUtils.tsx              # Markdown rendering utilities

Creating New Blog Posts

To create a new blog post, follow these steps:

1. Create a Markdown File

Create a new .md file in the app/blog/_assets/articles/ directory. The filename should match the slug you want to use in the URL.

For example, great-product-ideas.md:

---
title: "10 Great Product Ideas for Startups"
description: "Explore these innovative product ideas that could be your next successful startup venture."
date: "2024-05-20"
slug: "great-product-ideas"
---

# 10 Great Product Ideas for Startups

Introduction paragraph goes here...

## First Idea: Industry-Specific SaaS

Details about this idea...

## Second Idea: IoT for Home Automation

Details about this idea...

[... more content ...]

2. Update the Blog Metadata

Add your article metadata to the articles array in app/blog/_assets/content.tsx:

export const articles: articleType[] = [
  // Existing articles...
  
  {
    slug: "great-product-ideas",
    title: "10 Great Product Ideas for Startups",
    description: "Explore these innovative product ideas that could be your next successful startup venture.",
    categories: [
      categories.find((category) => category.slug === categorySlugs.guide)!,
    ],
    author: authors.find((author) => author.slug === authorSlugs.mapleshaw)!,
    publishedAt: "2024-05-20",
    image: {
      src: productIdeasImg, // Import this at the top of the file
      urlRelative: "/blog/great-product-ideas/header.jpg",
      alt: "Product ideas brainstorming session",
    },
    content: (
      <div className="article-content">
        {/* Content will be dynamically loaded */}
        <p>Loading content...</p>
      </div>
    ),
  },
];

Add a header image for your blog post in the public/blog/[article-slug]/ directory.

Adding a New Author

To add a new author:

  1. Add their avatar image to app/blog/_assets/images/authors/

  2. Update the authorSlugs and authors arrays in app/blog/_assets/content.tsx:

const authorSlugs = {
  // Existing authors...
  newauthor: "newauthor",
};

export const authors = [
  // Existing authors...
  {
    slug: authorSlugs.newauthor,
    name: "New Author Name",
    job: "Job Title",
    description: "Author bio goes here...",
    avatar: newAuthorImg, // Import this at the top of the file
    socials: [
      {
        name: socialIcons.twitter.name,
        icon: socialIcons.twitter.svg,
        url: "https://x.com/username",
      },
      // Other social links...
    ],
  },
];

Adding a New Category

To add a new category:

const categorySlugs = {
  // Existing categories...
  tutorials: "tutorials",
};

export const categories = [
  // Existing categories...
  {
    slug: categorySlugs.tutorials,
    title: "Tutorials & How-tos",
    titleShort: "Tutorials",
    description: "Step-by-step guides to help you implement various features and improve your product.",
    descriptionShort: "Step-by-step implementation guides.",
  },
];

Customizing the Blog Layout

The blog layout can be customized by editing the components in the app/blog/_assets/components/ directory. For example, to modify the appearance of blog cards on the main page, edit CardArticle.tsx.

Markdown Formatting

The blog system uses a custom Markdown renderer that supports:

  • Headings (H1-H6)
  • Paragraphs and text formatting (bold, italic)
  • Lists (ordered and unordered)
  • Code blocks with syntax highlighting
  • Links
  • Images
  • Blockquotes

For code blocks, you can use triple backticks with an optional language specifier:

// This is a TypeScript code example
function hello(name: string): string {
  return `Hello, ${name}!`;
}

SEO Optimization

Each blog post automatically generates:

  • Title and meta description tags
  • Open Graph tags for social sharing
  • Canonical URLs
  • Structured data for search engines

Best Practices

  • Consistent Publishing: Regular content updates improve SEO and reader engagement
  • Quality Images: Use high-quality featured images sized appropriately (1200×630px recommended)
  • Categories: Use a consistent set of categories to organize your content
  • Internal Linking: Link between blog posts to keep readers on your site
  • Call to Action: Include calls to action in posts to drive waitlist signups